
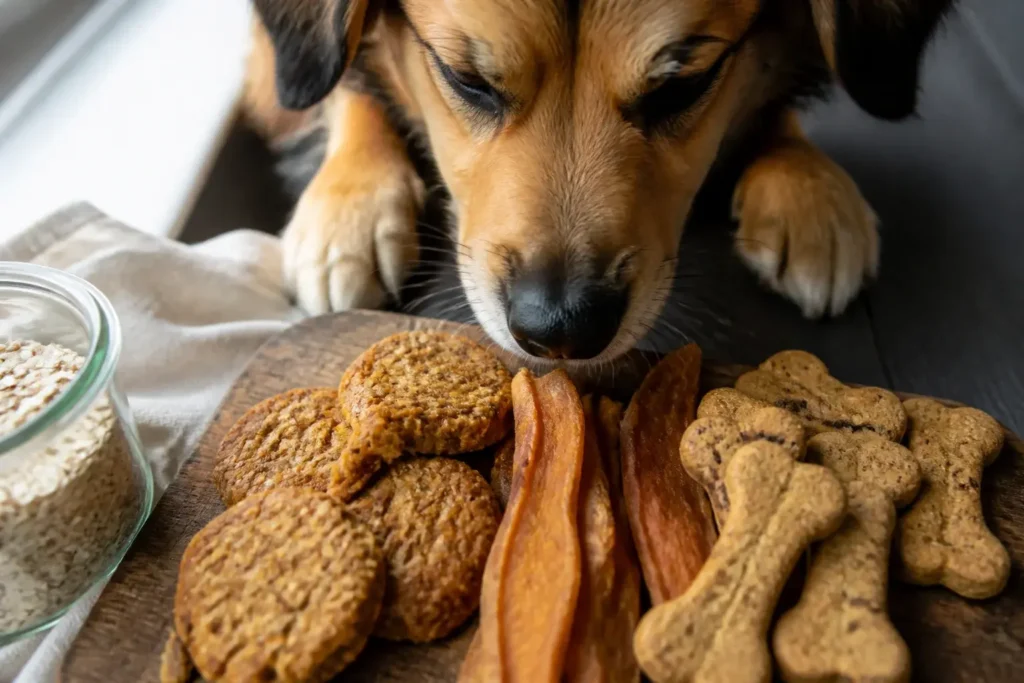
You want treats that last longer than a sniff, right? Same. Long lasting homemade dog treats keep your pup busy, happy, and out of your sock drawer.
Let’s ditch the mystery-ingredient store stuff and make safe, durable goodies at home. You’ll save money, know exactly what’s inside, and get serious tail wags. Win-win.
I’ll show you smart ingredients, foolproof recipes, and storage tips so your treats actually last. Ready to impress your dog like you just learned magic?
Why Make Long Lasting Treats At Home?
Store-bought chews can hide weird preservatives or sketchy fillers. Homemade treats give you control, and they taste better to dogs who know when you used real pumpkin versus “pumpkin-ish.”
Longer-lasting treats also help with boredom and mild anxiety. Chewing soothes dogs. It works like a little spa day for their brain.
Plus, you can tweak textures for your dog’s size, age, and chewing style. Small dog with dainty teeth? Crunchy but not tooth-cracking. Power chewer? Bring on the dense biscuits.
What Makes A Treat Last Longer?
Think dryness and density. The less moisture a treat has, the longer it sticks around.
Key factors:
- Low moisture: Dehydrate or bake until crisp to slow spoilage and increase chew time.
- High fiber and starch binders: Oat flour, brown rice flour, and pumpkin help create sturdy chews.
- Limited fat: Too much oil can cause faster rancidity and softer texture.
- Shape and thickness: Thicker sticks and bars make pups work harder.
Ingredients To Favor
- Oat flour, brown rice flour, or whole wheat flour (if your dog tolerates wheat)
- Unsweetened pumpkin puree or mashed sweet potato
- Eggs for binding
- Natural peanut butter (xylitol-free, always check the label)
- Low-sodium broth (chicken or beef)
- Ground flaxseed for structure and nutrition
- Dried parsley or turmeric for a little antioxidant flair
Ingredients To Limit Or Skip
- Onion, garlic, chives (toxic)
- Xylitol in any nut butter (toxic)
- Raisins, grapes, chocolate, macadamia nuts (also toxic)
- Excess salt, sugar, or added sweeteners
Recipe 1: Crunchy Pumpkin Power Sticks
These bake hard, then dehydrate a bit, so they last without turning into bricks. Perfect for light to moderate chewers.
What you need:
- 2 cups oat flour (blend rolled oats if needed)
- 1 cup brown rice flour
- 1/2 cup unsweetened pumpkin puree
- 1 large egg
- 2 tablespoons natural peanut butter (xylitol-free)
- 1/3 to 1/2 cup low-sodium chicken broth
- 1 tablespoon ground flaxseed
- Optional: 1 teaspoon turmeric
How to make them:
- Preheat oven to 325°F (160°C). Line two baking sheets with parchment.
- Whisk pumpkin, egg, peanut butter, and 1/3 cup broth until smooth. Stir in flours, flax, and turmeric. Add more broth until a stiff dough forms.
- Roll dough to about 1/2 inch thick. Slice into 1/2 inch by 5 inch sticks. Place on sheets with space between.
- Bake 35 to 40 minutes until firm and lightly browned.
- Turn oven off. Leave trays inside with the door cracked for 1 to 2 hours to dry further.
- Cool completely. For extra durability, finish in a dehydrator at 155°F for 1 to 2 hours, or return to a 200°F oven for 45 minutes.
Storage: Keep in an airtight container up to 2 weeks, or freeze up to 3 months. Always let them cool totally before sealing, FYI, so moisture doesn’t sneak in and soften everything.
Recipe 2: Chewy Sweet Potato Rawhide-Style Strips
These mimic a rawhide vibe without the rawhide drama. Dogs gobble them slowly, and you control thickness.
What you need:
- 3 large sweet potatoes, peeled
- 1 tablespoon melted coconut oil (optional for sheen)
- Pinch of dried parsley
How to make them:
- Slice sweet potatoes lengthwise into 1/4 to 3/8 inch thick planks. Thicker equals tougher.
- Lightly brush with coconut oil if desired. Sprinkle parsley.
- Bake at 225°F (110°C) for 2 to 3 hours, flipping halfway, until leathery-dry but slightly flexible.
- For extra durability, dehydrate at 155°F for another 2 hours.
Storage: Airtight jar up to 3 weeks. Freeze for longer. If pieces soften over time, pop them back in a 200°F oven for 20 minutes to re-crisp.
Recipe 3: Super Crunch Oat-Bone Biscuits
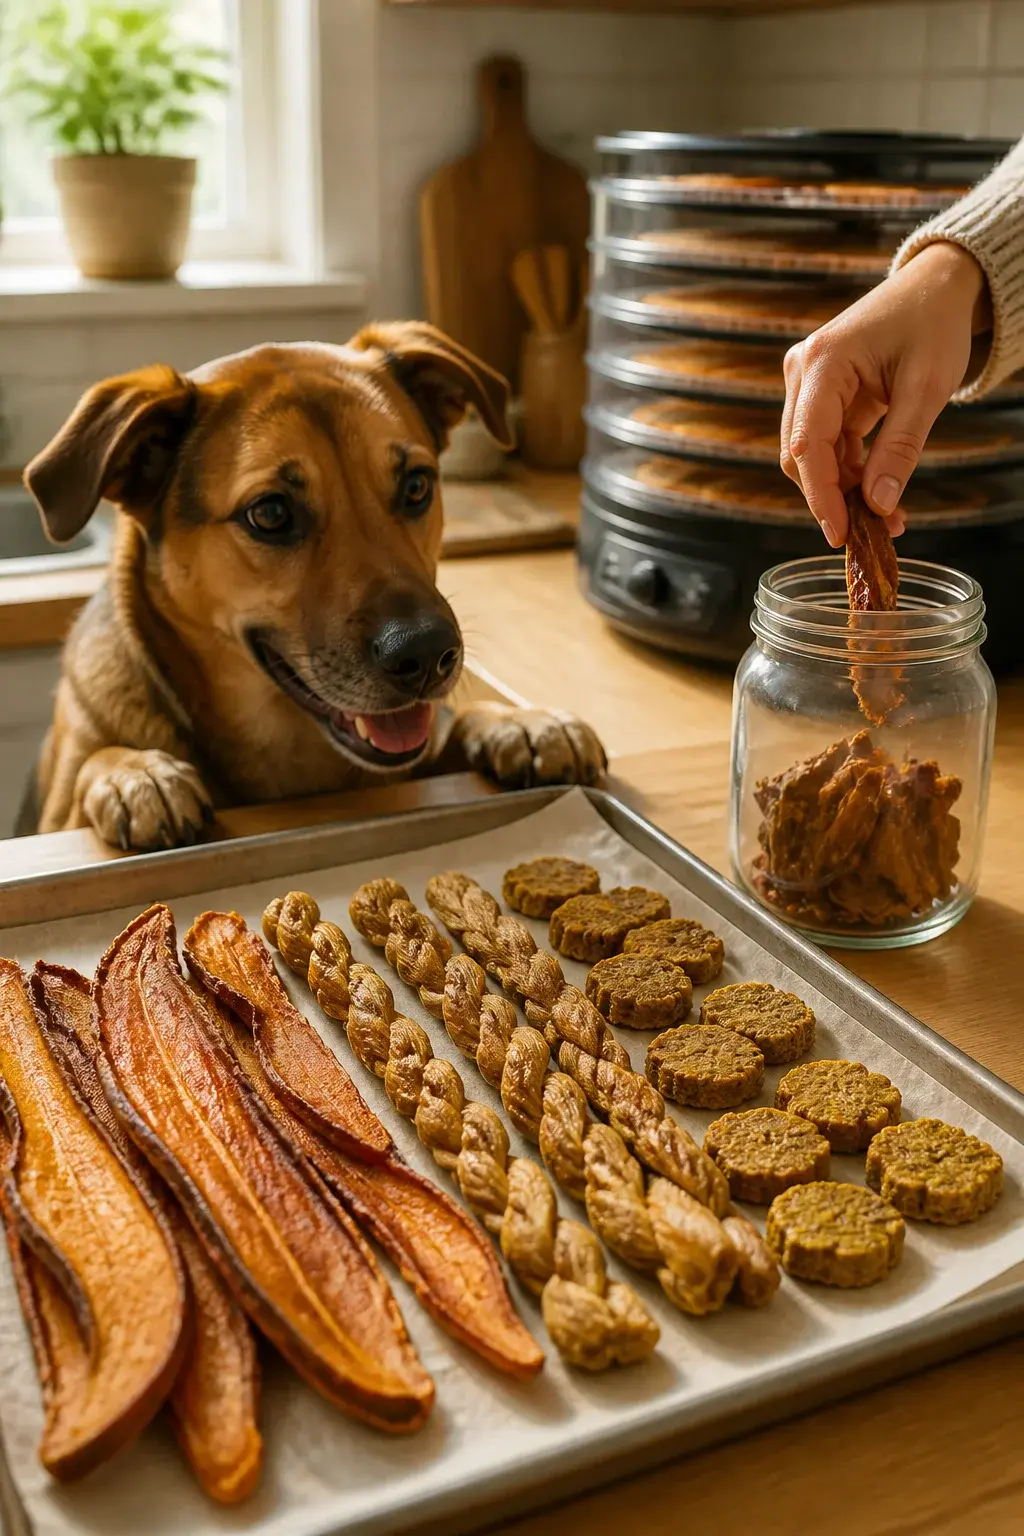
If your dog lives for crunch, this one’s their jam. These shatter a little, so monitor enthusiastic gulpers and size pieces appropriately.
What you need:
- 2 1/2 cups oat flour
- 1/2 cup rolled oats
- 1 egg
- 1/2 cup mashed banana or unsweetened applesauce
- 2 tablespoons ground flaxseed
- 1/4 cup low-sodium broth or water, as needed
How to make them:
- Preheat to 325°F (160°C). Stir oat flour, rolled oats, and flax.
- Mix banana, egg, and a splash of broth. Combine with dry mixture. Add more liquid until dough holds together but stays firm.
- Roll to 1/4 inch for crisp cookies or 3/8 inch for tougher bites. Cut into bone shapes or squares.
- Bake 30 to 35 minutes until golden. Turn off oven and let them sit inside another hour to dry.
Storage: Airtight container for 2 weeks, or freeze. Keep a silica gel food-safe packet nearby if you live somewhere humid.
Make Them Last Even Longer
You can turn almost any dog-safe batter into a tougher chew with a few tricks.
Drying Magic
- Double-bake: Bake normally, cool, then bake again at 200°F for 30 to 45 minutes.
- Use a dehydrator: 145 to 160°F dries evenly with less scorching.
- Vent the oven: Crack the door with a wooden spoon to release moisture.
Shape Smarter
- Roll thicker for chewier sticks. Thin equals snap-and-gone.
- Make long rectangles or knots with dough ropes for extra gnaw time.
- Size matters: smaller dogs need thinner pieces to protect teeth and avoid choking.
Safety First, Always
I love a DIY treat as much as the next over-invested dog parent, but safety rules keep bellies happy.
- Check ingredients: Never use xylitol. Read peanut butter labels every time.
- Watch portions: Treats should stay under 10% of daily calories. Even the healthy ones.
- Supervise chewing: Especially with dense or long pieces. Remove small nubs to prevent choking.
- Mind dental health: Senior dogs or pups with dental issues need softer bakes.
- Introduce slowly: New recipe? Start with a small piece and see how your dog’s tummy reacts.
Flavor Boosters That Dogs Actually Love
Dogs don’t care about truffle oil. They want bold, simple flavors.
- Protein powders: Unsalted dehydrated salmon skin powder or plain collagen can add aroma and structure. Use sparingly.
- Broth cubes: Freeze low-sodium broth in ice cube trays, thaw, and use in dough for consistent flavor.
- Herbs: Dried parsley, rosemary, or a pinch of ginger can freshen breath and aid digestion.
IMO: The Ultimate Blend
Mix oat flour, pumpkin, egg, and a dash of peanut butter, then dry it to the brink. It hits texture, nutrition, and flavor without being a greasy mess. Simple works, FYI.
Smart Storage And Shelf Life
You worked hard, so let’s not invite soggy-town.
- Cool completely: Warm treats release steam that condenses inside containers.
- Choose the right container: Use airtight tins or glass jars with tight lids. Paper bags for very dry treats also work.
- Fight humidity: Add food-safe desiccant packs or a small pouch of dry rice in a breathable sachet.
- Label and rotate: Date your batches. Use the oldest first like a treat sommelier.
- When in doubt, freeze: Most treats freeze like champs for 2 to 3 months.
FAQs
How long do homemade dog treats last at room temperature?
Dry, low-fat treats usually last 1 to 3 weeks in an airtight container. If your kitchen runs humid, plan for the shorter end and refresh in a low oven to restore crunch. Always check for off smells or visible mold before serving.
Can I add meat to make them more exciting?
Yes, but meat shortens shelf life. Use cooked, finely shredded chicken or beef, then dehydrate heavily and refrigerate. For a long-lasting vibe, keep meat-based treats in the fridge up to a week or freeze in portions.
My dog has allergies. What flours can I use instead?
Try oat, brown rice, buckwheat, or chickpea flour. Start with a half-and-half mix of oat and rice for a balanced texture. Avoid almond flour for many dogs since the fat content runs high and can cause tummy issues.
How do I make treats hard without burning them?
Bake at a moderate temp until set, then finish low and slow. That second round at 200°F or a dehydrator session removes moisture without scorching the outside. Thin pieces brown faster, so keep them thicker for safe drying.
Are these safe for puppies?
Mostly yes, but go softer and smaller. Puppies need gentler textures while teeth and jaws develop. Use the sweet potato strips baked less for flexibility and always supervise.
What about dental health claims?
Crunchy textures can help reduce soft plaque, but they don’t replace brushing. Think of these treats as supportive, not a toothbrush. If your dog has dental disease or loose teeth, choose softer options and talk to your vet.
Conclusion
Long lasting homemade dog treats hit the sweet spot between fun and function. Dry them well, keep ingredients simple, and size them for your dog’s bite. You’ll cut costs, boost nutrition, and score serious hero points with your four-legged foodie. Now grab some pumpkin and oats and get baking—your dog already heard the oven preheat, trust me.
About the Author

David
Blogger/YouTuber
A guitar nerd, the myth, the legend.