
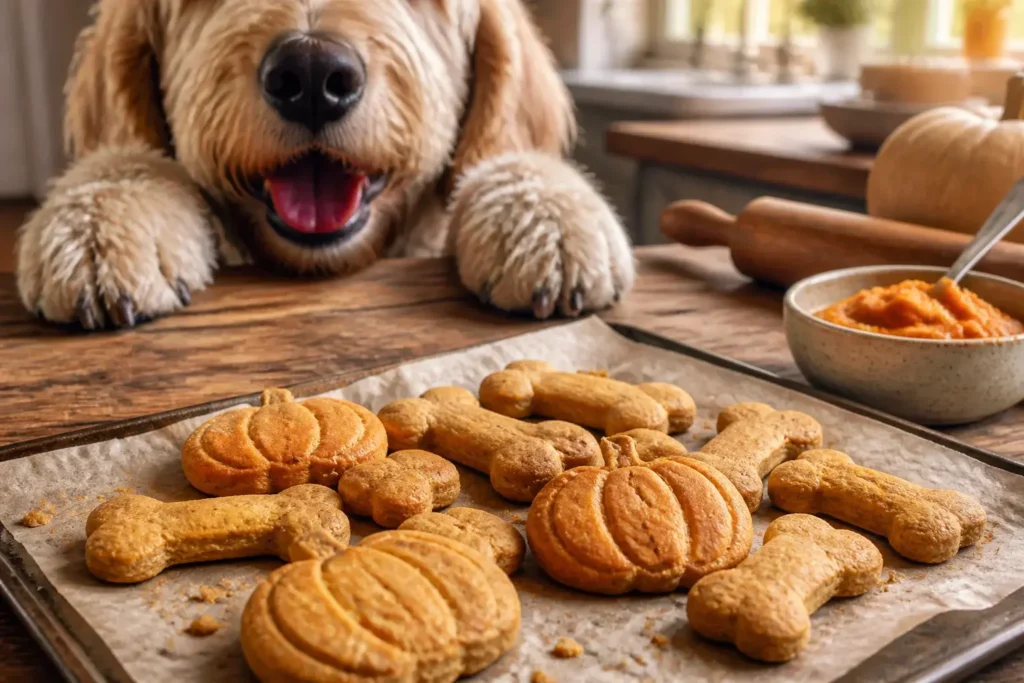
If your dog hears the word “treat” and teleports to the kitchen, you’re in the right place.
These Pumpkin Crunchy Dog Treats deliver big crunch, clean ingredients, and zero mystery stuff.
We’ll keep it simple, budget-friendly, and drool-worthy. Ready to bake a batch your pup will obsess over?
Why Pumpkin Crunchy Dog Treats Deserve A Spot In Your Oven
Pumpkin brings fiber, beta-carotene, and a gentle tummy vibe that most dogs handle super well. Crunchy texture also does a little dental work by scraping off some gunk while your dog chomps. Win-win.
You control everything that goes in. That means no weird fillers, artificial flavors, or sugar bombs. Just real ingredients your dog will recognize with their nose from across the house.
Also, you’ll save money. Store-bought treats cost a lot for not a lot. A single can of pumpkin plus pantry staples equals a mountain of biscuits.
The Simple, Crunchy Recipe (No Fancy Gear Required)
Yield: About 60 small biscuits, depending on cutter size
Time: 15 minutes prep, 25 to 35 minutes bake, plus cool time
Ingredients
- 1 cup plain canned pumpkin (NOT pumpkin pie filling)
- 2 large eggs
- 2 1/2 to 3 cups whole wheat flour (or oat flour for wheat-free)
- 1/4 cup unsweetened applesauce or plain yogurt
- 1 tablespoon peanut butter (xylitol-free, always)
- Optional: 1/2 teaspoon ground cinnamon
Instructions
- Preheat oven to 325°F. Line two baking sheets with parchment.
- Whisk pumpkin, eggs, applesauce, and peanut butter until smooth.
- Stir in 2 1/2 cups flour and cinnamon. Add more flour a little at a time until the dough feels firm and not sticky. You want it workable, like play-dough, not glue.
- Roll the dough to about 1/4 inch thick on a floured surface. Cut shapes with a small cookie cutter or slice into squares with a knife.
- Place on the sheets. For extra crunch, poke each biscuit with a fork a couple times so moisture escapes.
- Bake 25 to 35 minutes until dry and lightly golden. For ultra-crunchy biscuits, turn off the oven and let them sit inside with the door cracked for 30 to 60 minutes to finish drying.
- Cool completely before serving. Crunch happens during cooling, so don’t rush it.
Pro Tips For Maximum Crunch
- Thinner dough equals crunchier treats. Go closer to 1/8 inch if your dog likes loud snacks.
- For tiny pups, use a bottle cap as a cutter and shorten the bake time by a few minutes.
- If the dough gets sticky, dust with more flour or chill 10 minutes. Don’t overdo the flour or you’ll get jawbreakers.
Ingredient Swaps That Still Keep It Dog-Safe
Dogs don’t need a pastry chef’s pantry. They need safe, simple ingredients that taste like fall. Here’s how to pivot without drama.
Flours That Work
- Whole wheat flour: Classic, affordable, holds shape well.
- Oat flour: Gentle on tummies. Make it by blitzing oats in a blender.
- Brown rice flour: Light crunch, a bit sandy. Add a touch more applesauce if crumbly.
Flavor Boosters
- Peanut butter: Double-check it’s xylitol-free. That sweetener is toxic to dogs.
- Banana: Sub half the pumpkin with mashed ripe banana for extra aroma.
- Parsley: A sprinkle freshens dog breath a little. Not a miracle, but every bit helps.
- Cinnamon: Tiny amounts are fine. Skip nutmeg completely.
What To Avoid, Period
- Xylitol and sugar alcohols: Extremely dangerous for dogs.
- Chocolate, raisins, nutmeg: Hard no.
- Added salt and sugar: Dogs don’t need them, and neither does this recipe.
Texture, Storage, And Shelf Life (Because Soggy Treats Are Tragic)
You baked gorgeous biscuits. Now keep them crunchy and safe.
How To Nail Texture Every Time
- If the middle looks soft, extend bake time by 3 to 5 minutes and check again.
- Let treats dry in the cooling oven for that cracker-like snap. IMO, this step makes them elite.
- Use small shapes for faster, more even drying.
Storage 101
- Counter: Up to 5 days in an airtight container with a paper towel to absorb moisture.
- Fridge: 10 to 14 days in a sealed container.
- Freezer: Up to 3 months. Thaw at room temp. You can even re-crisp in a 300°F oven for 5 minutes.
Make Them Special: Shapes, Sizes, And Toppings
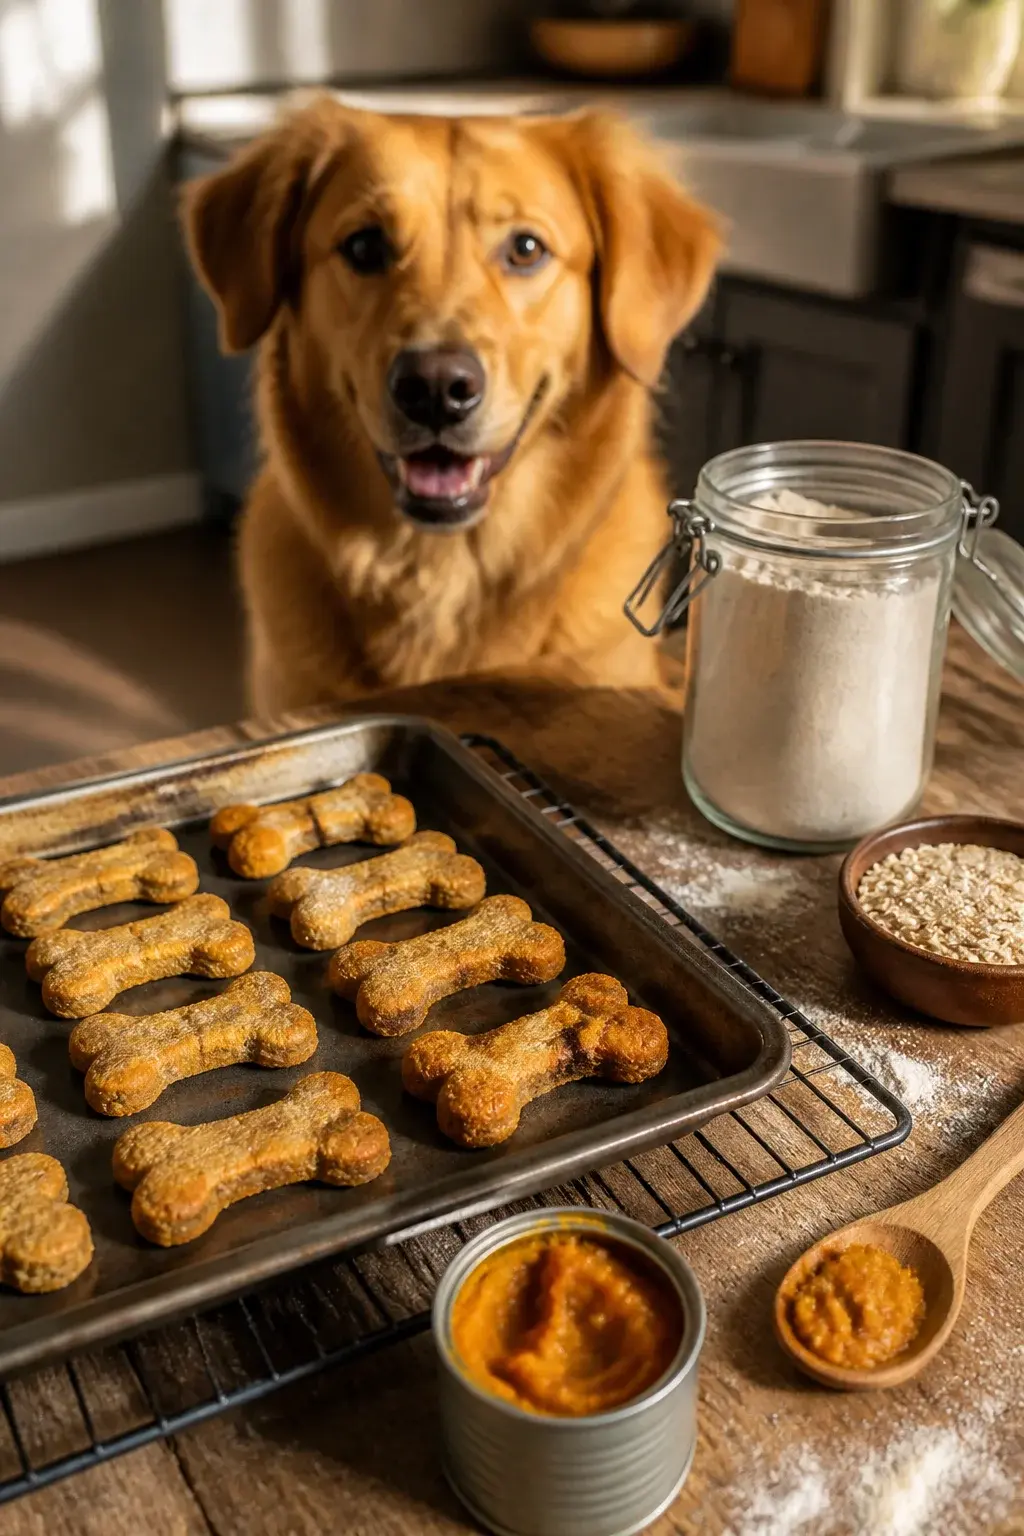
We eat with our eyes, and your dog eats with their entire soul. Cute shapes make gifting fun and training exciting.
Shape Ideas
- Tiny bones for training rewards.
- Mini hearts for Valentine’s walks.
- Simple squares when you can’t find the cutter and your dog doesn’t care anyway.
Simple Toppings
- Egg wash: Brush with beaten egg before baking for a glossy look.
- Oat sprinkle: Press a few oats into the top for texture.
- Peanut drizzle: Melt a spoon of peanut butter and zigzag post-bake. Keep it light.
Use Them For Training Without Overdoing Calories
Treats work best when they’re small, crunchy, and frequent. That’s these guys. Keep sessions motivating without turning your dog into a chew-shaped loaf.
Portion Tricks
- Cut the dough into pea-size dots for high-rep training.
- Break larger biscuits into shards. They snap cleanly when fully dry.
- Balance daily calories: reduce dinner a smidge on heavy training days. FYI, your dog won’t file an HR complaint.
Troubleshooting: When The Biscuits Fight Back
Things happen. Ovens lie. Dogs wait. Here’s how to fix the usual suspects fast.
- Dough sticks to the counter: Add a tablespoon of flour and chill for 10 minutes.
- Biscuits spread or puff too much: Dough was too wet. Knead in extra flour until it feels firm.
- Edges brown but centers stay soft: Cut thinner or reduce oven temp by 10 to 15 degrees and extend time.
- Not crunchy after cooling: Return to a 300°F oven for 8 to 10 minutes, then cool on a rack.
Healthy Add-Ins That Won’t Upset Tummies
You can tweak without turning snack time into a chemistry project. Keep add-ins simple and measured.
- Ground flaxseed: 1 tablespoon for a bit of omega love.
- Finely shredded carrot: 1/4 cup, squeeze out moisture first.
- Unsweetened shredded coconut: 1 to 2 tablespoons for aroma and crunch.
Watch The Total Moisture
If you add wet ingredients like banana or yogurt, bump the flour a touch to keep the dough workable. You want a firm, non-sticky ball that rolls cleanly. If your rolling pin looks like a pumpkin crime scene, add flour.
FAQ
Can my dog eat pumpkin every day?
Most dogs can handle small daily amounts of plain pumpkin just fine. Think 1 to 2 tablespoons for small dogs and up to 1/4 cup for big dogs. Treats count toward that, so don’t also spoon pumpkin on dinner unless your vet says it helps with digestion.
Are these safe for puppies?
Yes, in tiny pieces. Puppies have sensitive stomachs and fewer teeth working at full power, so bake thinner and break treats small. Always introduce new snacks gradually and watch for any tummy issues.
What if my dog is allergic to wheat?
Use oat flour or a blend like oat and brown rice flour. The dough might feel a bit more delicate, but it still bakes up crunchy. If it crumbles, add a spoon of applesauce to help it bind.
How many treats can I give per day?
Keep treats under 10 percent of daily calories. For a 30-pound dog, that might look like 4 to 6 small biscuits. Adjust for training days and scale back the regular meal slightly, IMO the easiest way to keep weight steady.
Can I add meat or cheese?
You can, but it shortens shelf life and adds calories fast. If you really want a savory vibe, sprinkle a tiny pinch of grated Parmesan on top before baking. Store those in the fridge and use within a week.
My dog prefers soft treats. Can I make these chewy?
Yes. Roll a little thicker, bake on the shorter end, and skip the oven-drying step. Store chewy treats in the fridge and use within 5 to 7 days since they keep more moisture.
Conclusion
Pumpkin Crunchy Dog Treats hit that sweet spot between wholesome and wildly snackable. They’re fast, affordable, and endlessly tweakable with safe, simple swaps. Bake a batch this weekend, stash a jar on the counter, and enjoy the sound of happy crunching drifting from your dog’s corner of the couch. FYI, you might want to double the recipe. Your pup will lobby for it.
About the Author

David
Blogger/YouTuber
A guitar nerd, the myth, the legend.