
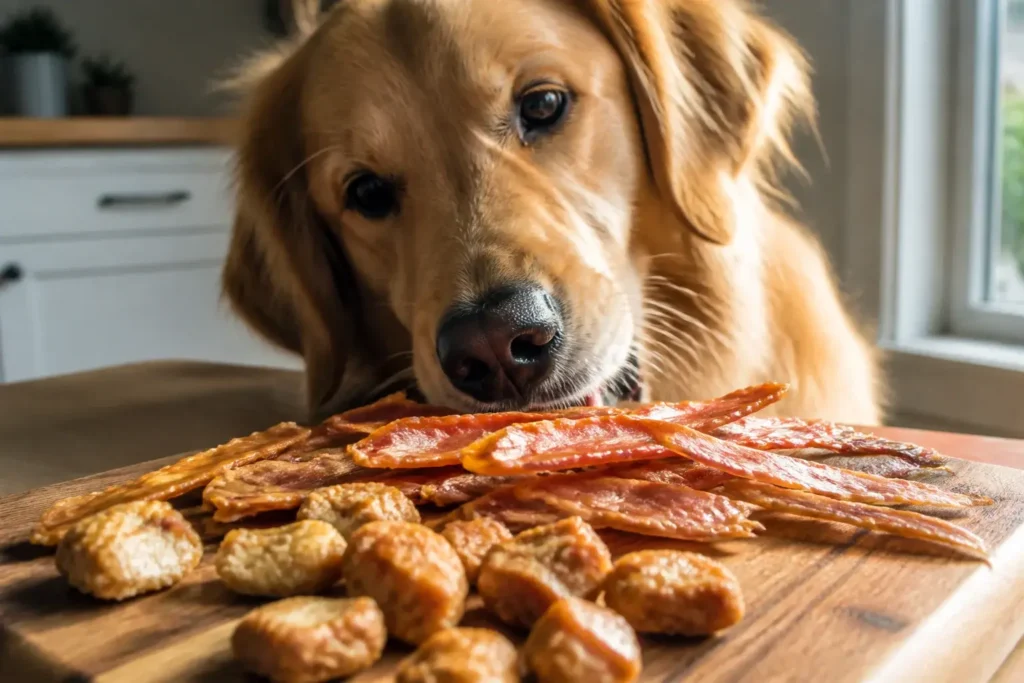
Love spoiling your dog without mystery ingredients? Same. Let’s turn simple chicken into safe, crunchy, chewy, and downright drool-worthy treats.
You’ll find easy recipes, smart storage tips, and vet-approved safety notes. Grab some chicken, preheat the oven, and prepare for zoomies.
We’ll keep it dog-friendly, budget-friendly, and snack-time legendary. Ready?
Why Homemade Chicken Treats Rock
We all love a short ingredient list. With DIY treats, you control every bite: just chicken, maybe pumpkin or oats, and zero fillers.
Homemade treats help picky eaters and sensitive tummies. You can tailor texture and size, which matters for tiny mouths and big chompers.
Plus, you save money and avoid sketchy additives. Win for you, huge win for your floof.
Safety First: Chicken Treat Ground Rules
Before we turn into treat chefs, let’s keep your dog safe. No cooked bones ever. They splinter and can hurt your dog.
Fully cook chicken to 165°F and cool it before serving. Cut bite-sized pieces to prevent gulping.
Skip onion, garlic, chives, heavy salt, xylitol, and spicy stuff. Keep peanut butter plain and unsweetened if you use it in combos. If your dog has kidney or heart issues, keep sodium very low and check with your vet. IMO, when in doubt, go simple.
Recipe 1: Simple Crispy Chicken Jerky
Crunchy, single-ingredient, and perfect for training. You only need chicken breast.
Ingredients
- 1 to 2 pounds boneless, skinless chicken breast
Instructions
- Preheat oven to 200°F. Line a baking sheet with parchment.
- Trim visible fat. Slice chicken into 1/8 to 1/4-inch strips against the grain for crispier bites.
- Pat dry. Lay strips in one layer without touching.
- Bake 2 to 3 hours until dry and firm. For chewier jerky, pull at 2 hours. For crispier, go longer.
- Check internal temp hits 165°F at least once during bake. Let cool completely.
Storage
- Fridge: up to 7 days in an airtight container with a paper towel to absorb moisture.
- Freezer: up to 2 months. Thaw in the fridge.
Tip: For small dogs, snip jerky into tiny bits with kitchen shears for safer training treats.
Recipe 2: Chicken and Pumpkin Bites
Great for sensitive tummies and dogs who need a little fiber boost. These hold together well and won’t crumble in your pocket.
Ingredients
- 1 cup finely chopped cooked chicken breast
- 1/2 cup plain canned pumpkin (not pie mix)
- 1 egg
- 1 cup oat flour (blend rolled oats until powdery)
Instructions
- Preheat oven to 325°F. Line a baking sheet.
- Mix pumpkin, egg, and chicken. Stir in oat flour to make a thick, scoopable dough.
- Scoop 1-teaspoon portions, flatten gently to coin-thickness.
- Bake 18 to 22 minutes until set and just starting to brown on the edges.
- Cool fully. Keep portions tiny if your dog is new to pumpkin.
Make It Softer or Crunchier
- Softer: Bake 15 to 16 minutes and store in the fridge.
- Crunchier: Bake 25 minutes and let cool in the oven with the door cracked.
Recipe 3: Two-Ingredient Chicken Nugget Pops
Perfect for picky pups and great for pill-hiding. FYI, these smell amazing to dogs and just “fine” to humans.
Ingredients
- 1 cup cooked, shredded chicken
- 1/2 cup mashed sweet potato (plain, cooked, skin removed)
Instructions
- Preheat to 350°F. Line a mini muffin tin or tray.
- Mix chicken and sweet potato into a sticky mash.
- Roll into marble-sized balls or pack into mini cups.
- Bake 12 to 15 minutes until firm and lightly golden.
- Cool. Press a pill inside one if needed and serve right away.
Note: Keep portions small for toy breeds. These are rich treats, not dinner.
Recipe 4: Freezer-Friendly Chicken Broth Cubes
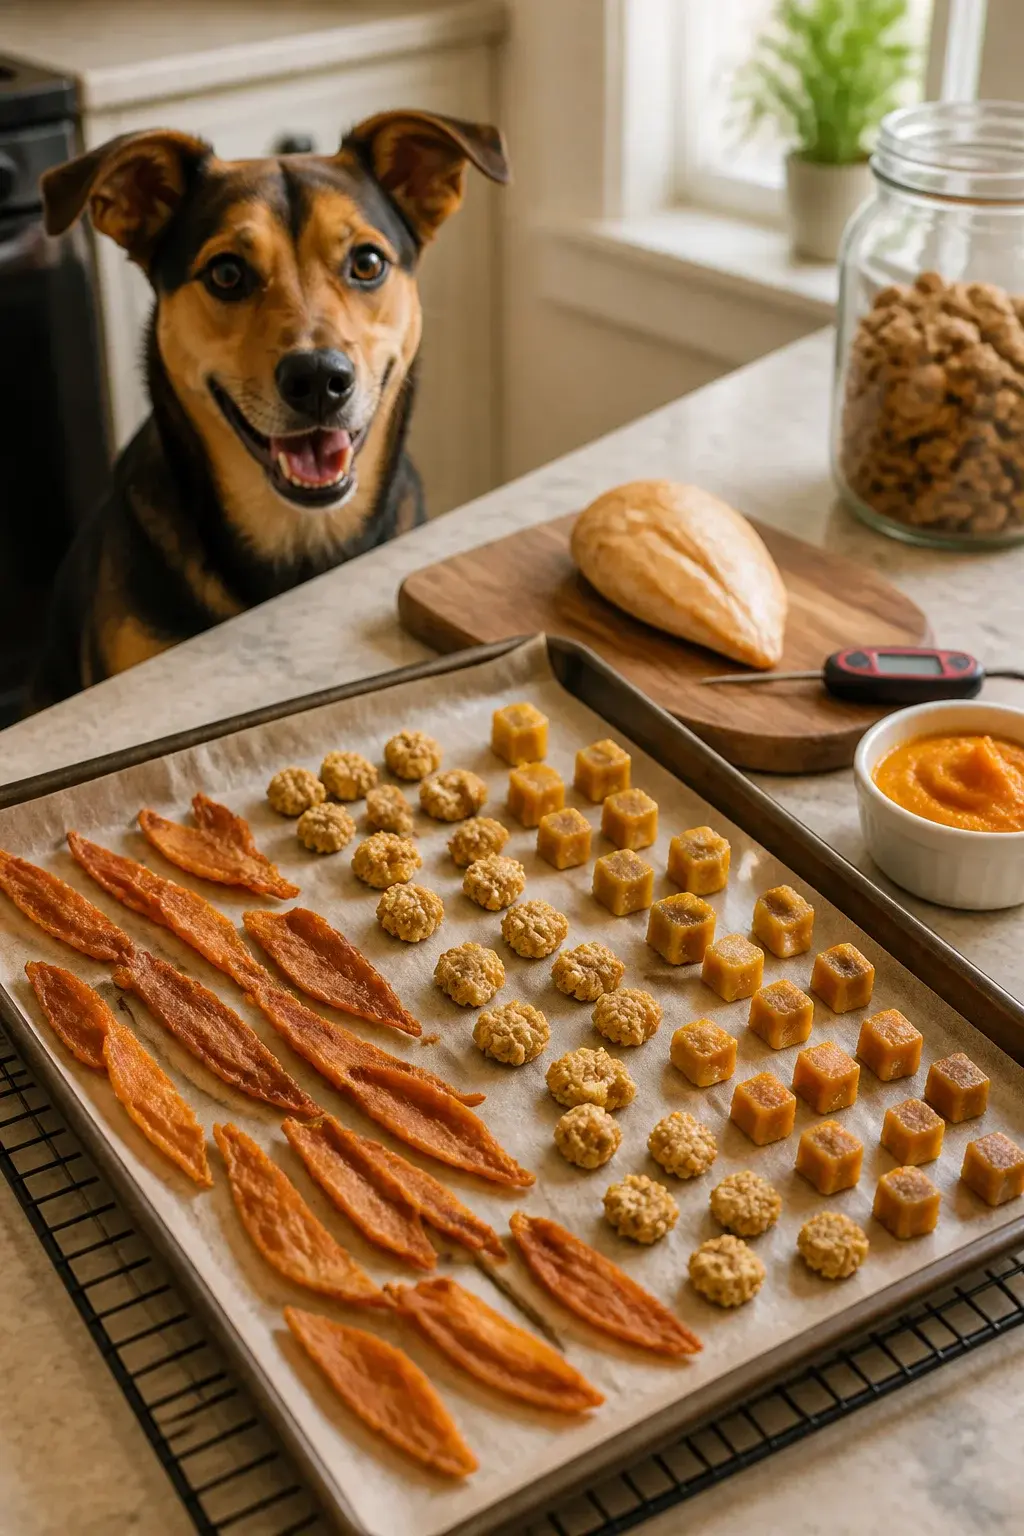
Hydration plus flavor? Yes, please. Use as summertime snacks or meal toppers.
Ingredients
- 1 pound chicken breast or thighs, trimmed
- 6 cups water
- Optional: 1 small carrot and 1 celery stalk for aroma (remove before blending; no onions or garlic)
Instructions
- Simmer chicken in water with optional veggies for 20 to 25 minutes until cooked.
- Remove chicken. Chill broth, skim fat. Shred chicken for later treats.
- Pour broth into silicone molds or ice trays and freeze.
Serving Ideas
- 1 cube over kibble for picky eaters.
- Frozen cube as a lickable snack on hot days.
- Blend a cube with cooked chicken for a quick training paste.
Low-sodium only. Do not add salt.
Recipe 5: Air Fryer Chicken Crunchies
Fast, crispy, and great for dogs who love a snap.
Ingredients
- 1 large chicken breast, sliced very thin
- 1 tablespoon oat flour or fine cornmeal, optional for crunch
Instructions
- Preheat air fryer to 300°F.
- Lightly dust chicken strips in oat flour if using. Shake off excess.
- Air fry 12 to 18 minutes, flipping halfway, until dry and crisp with no pink.
- Cool completely before giving to your pup.
Portion cue: Pinky-finger length pieces suit small dogs. Longer strips work for big dogs who chew well.
Portion Control and Treat Math
Treats should make up no more than 10% of daily calories. Training days sneak up on you, so keep count.
Quick Guide
- Tiny dogs (under 10 lb): 1 to 2 small bites, a few times per day max.
- Medium dogs (20 to 50 lb): 3 to 6 small bites per day, broken up.
- Large dogs (50+ lb): 6 to 10 small bites, depending on activity.
If your dog gains weight, cut treat sizes in half or use jerky slivers. IMO, tiny treats work better for training anyway.
Smart Storage So Treats Stay Safe
Moisture invites mold, so keep things dry and cool. Label containers with the bake date.
General Rules
- Refrigerate soft treats within 2 hours of baking.
- Use soft treats within 4 to 6 days, jerky within 7 days.
- Freeze extras in single layers, then bag. Thaw overnight in the fridge.
- Toss treats if you see moisture beads, odd smells, or fuzz. No bravery awards here.
Bonus Mix-Ins Your Vet Would Approve
Keep mix-ins simple and safe. Rotate flavors to keep your dog excited.
- Blueberries: A few smashed berries in dough for antioxidants.
- Parsley: A pinch of chopped flat-leaf for fresh breath.
- Unsweetened applesauce: Swap part of the pumpkin for variety.
- Plain kefir or yogurt: A spoon in dough for probiotics. Avoid sweeteners.
- Chia or ground flax: 1/2 teaspoon per batch for omega-3s.
Training With Chicken Treats Like A Pro
Use tiny, fast rewards. Big chunks slow the session and turn your dog into a chicken hoarder.
Pro Tips
- Cut treats pea-sized for sits, downs, and recalls.
- Use higher-value jerky for distractions like squirrels or doorbells.
- Rotate textures so your dog stays motivated and alert.
FAQ
Can puppies eat these chicken treats?
Yes, in tiny amounts. Keep textures soft for baby teeth, like Chicken and Pumpkin Bites. Introduce new foods slowly and stick to 5% of daily calories for very young pups. Ask your vet if your puppy has a sensitive stomach.
What if my dog has a chicken allergy?
Skip chicken completely. Try the same recipes with turkey breast or lean pork loin. Watch closely the first few times and check with your vet if you’ve seen prior reactions.
How do I know treats are fully cooked?
Chicken should reach 165°F at least once. Jerky feels dry and firm with no squish. Tear a piece open and check for uniform color and no pink or glossy wetness.
Can I add spices or salt for flavor?
No salt needed, and skip spices besides tiny amounts of dog-safe herbs like parsley. Never use onion, garlic, or anything spicy. Dogs taste chicken just fine without our seasoning habits.
How long can I store homemade treats?
Soft treats last 4 to 6 days in the fridge and up to 2 months in the freezer. Jerky lasts up to 7 days in the fridge and 2 months frozen. Moisture shortens shelf life, so keep batches small.
Can these replace a meal?
Nope. Treats are extras, not balanced diets. Keep them under 10% of daily calories and feed a complete dog food for the rest.
Conclusion: Treats That Make Tails Thump
Homemade chicken treats hit the sweet spot: simple ingredients, easy steps, and huge dog approval ratings. Start with jerky for a quick win, then try pumpkin bites or broth cubes to mix it up. Keep portions small, store them smart, and watch your dog’s eyes light up. FYI, once you nail these, you’ll never go back to mystery-ingredient store bags.
About the Author

David
Blogger/YouTuber
A guitar nerd, the myth, the legend.